Do you need to create swapfile configurations for your Linux server? Whether you are managing a high-performance VPS or a local workstation, running out of memory can abruptly crash your database or web server. In this guide, we will walk you through the standard process for Ubuntu, Fedora, Debian, and RHEL-based systems like AlmaLinux.
Even if your system boasts 32GB or 64GB of RAM, having a dedicated swap area is a critical safety net for system stability and efficient kernel caching.
Step-by-Step: Create Swapfile on Linux
When you add swap space, you are essentially extending your physical RAM onto your hard drive. This prevents the Linux “Out of Memory” (OOM) killer from terminating essential processes during traffic spikes. If you need a server environment to test this on, check out our recommended VPS plans.
Recommended Swap Sizes
Before proceeding, determine the correct size for your needs. Desktops often need more space for hibernation than servers.
| System RAM | Server (Performance) | Desktop (Hibernation) |
|---|---|---|
| 8 GB | 4 GB | 9 GB |
| 32 GB | 4 GB – 8 GB | 33 GB |
| 64 GB | 4 GB – 16 GB | 65 GB+ |
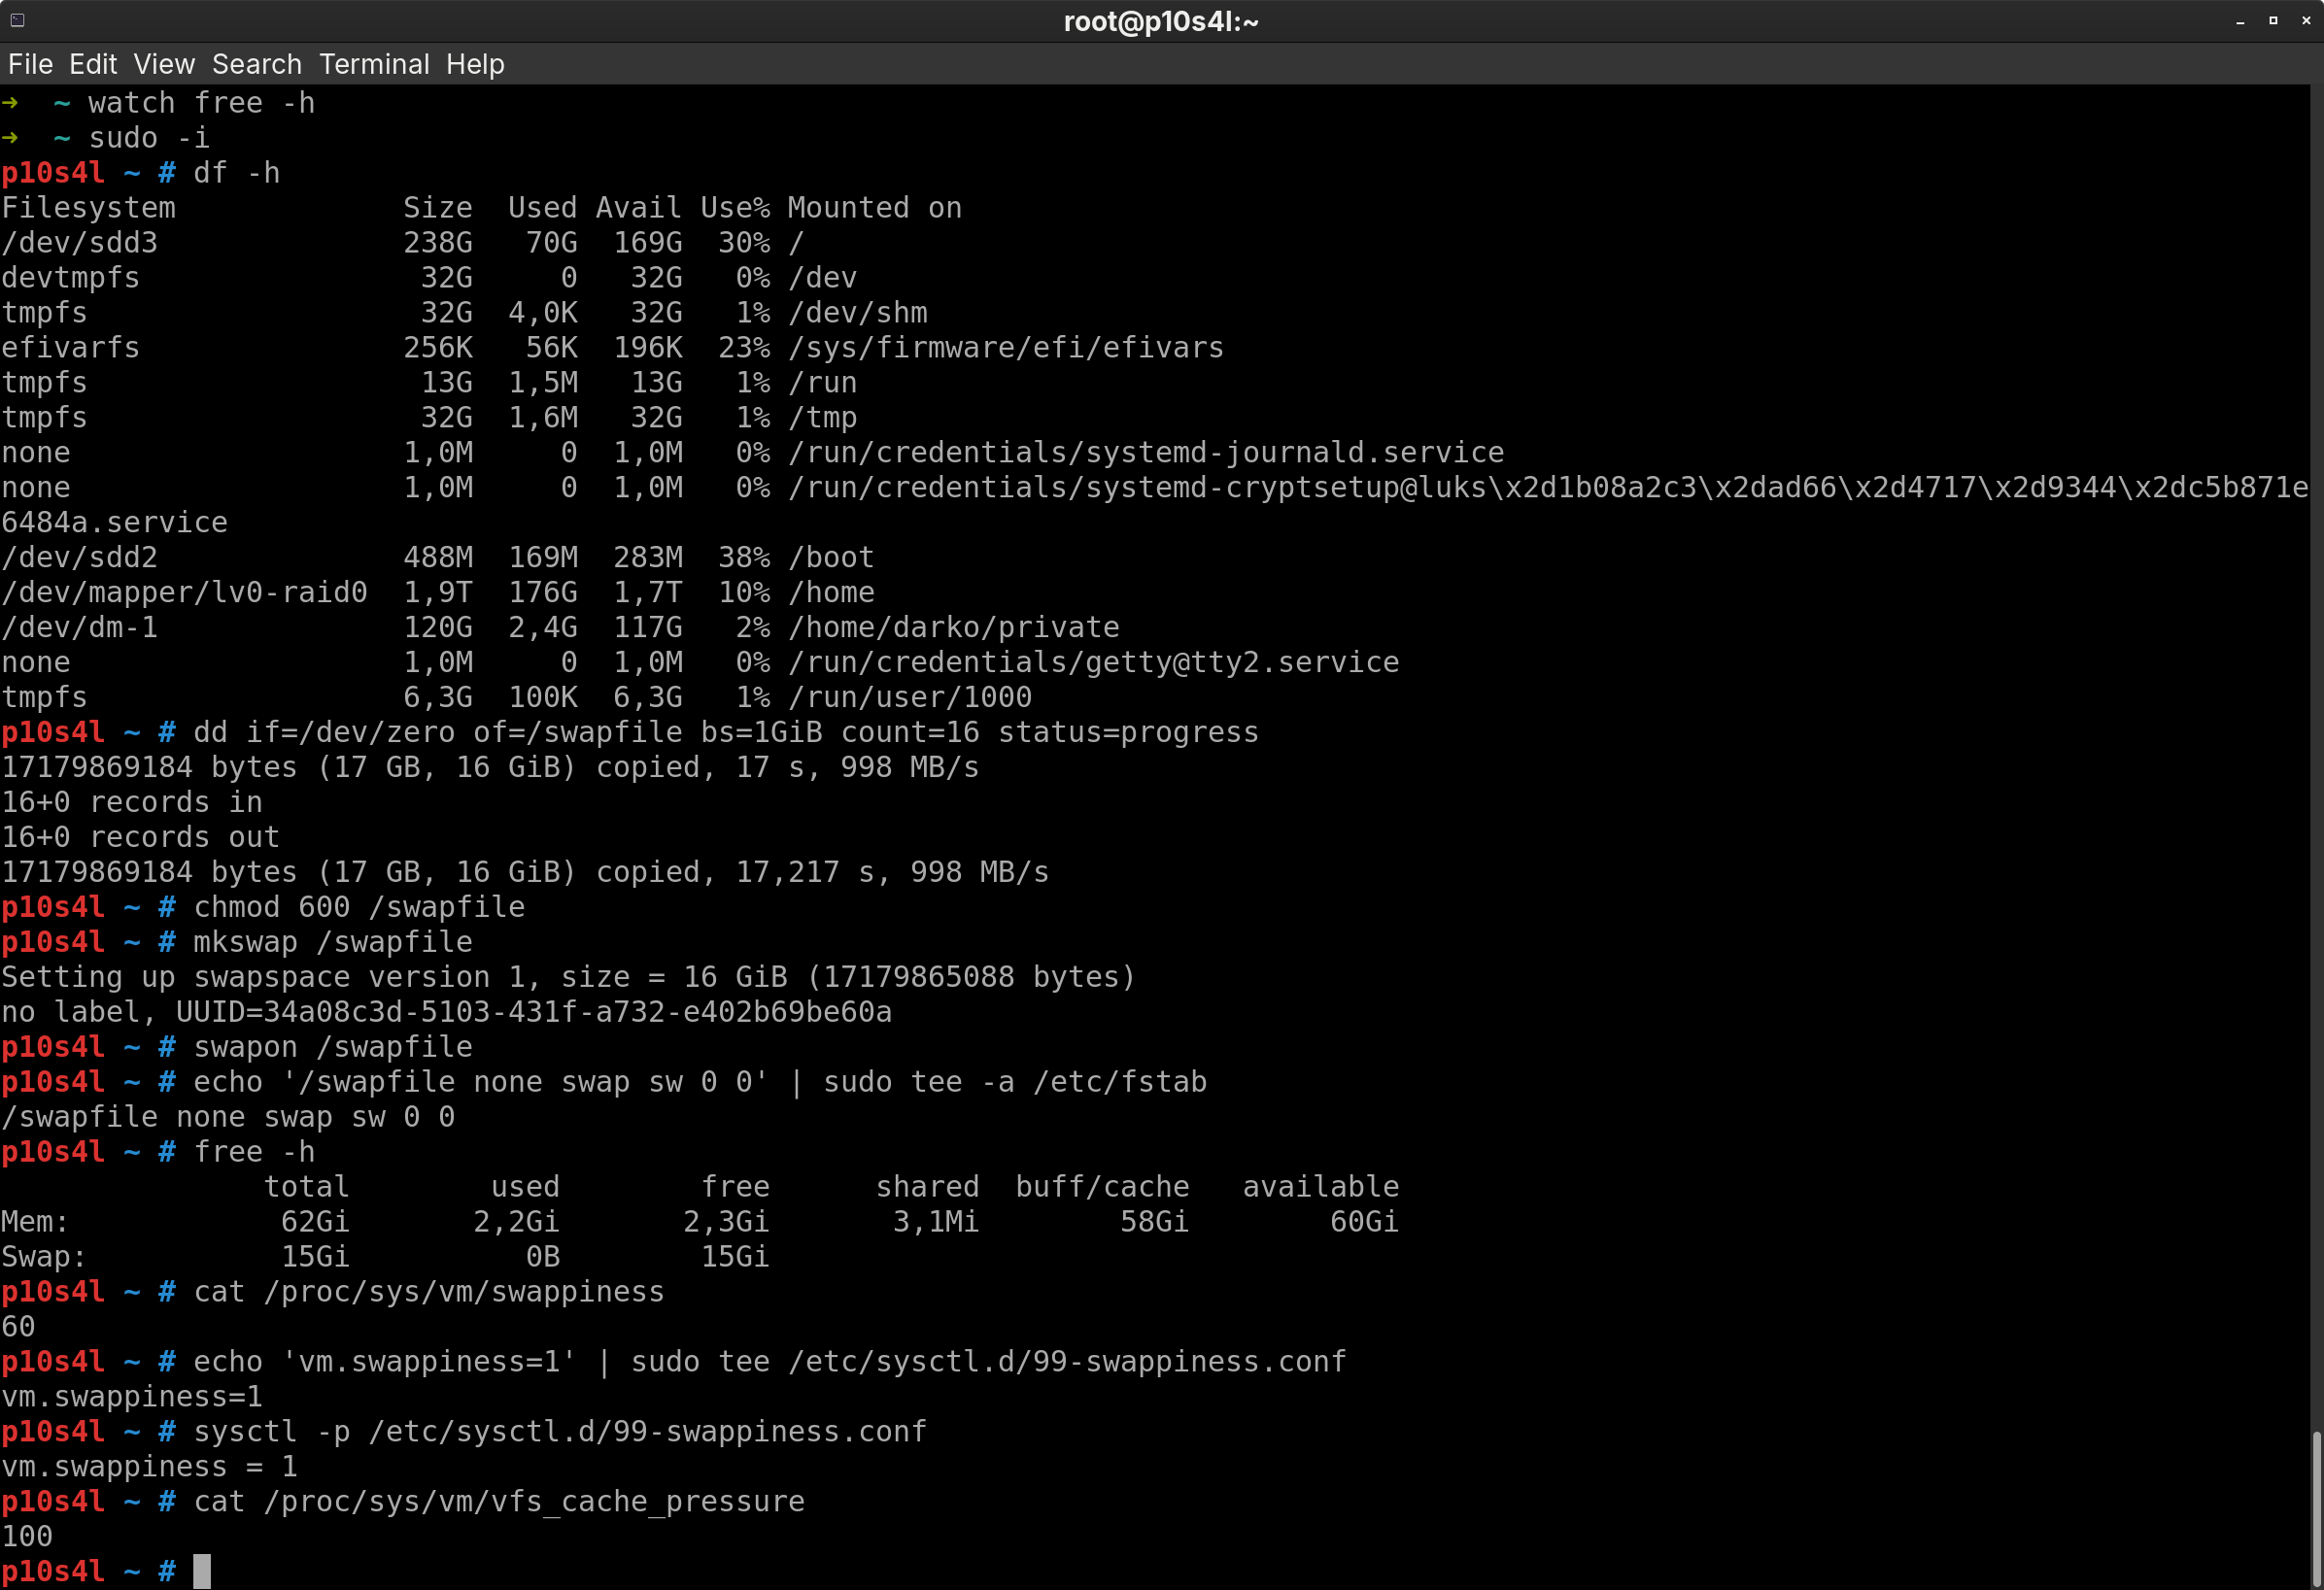
Step 1: Check Existing Swap
First, verify if your distribution (like Fedora or Ubuntu) has already enabled a swap partition:
|
1 |
free -h |
⚠️ Critical Warning for Btrfs Users
If you use the Btrfs filesystem (common on Arch and Fedora), do not use the standard
command below without modification. You must disable “Copy-on-Write” (CoW) on the file first to avoid filesystem corruption.
Step 2: Generate the File
To create swapfile data safely on ext4 or XFS filesystems, use the
|
1 |
dd |
command. This command is universally supported across Debian, CentOS, and AlmaLinux. The example below adds 4GB of space:
|
1 |
sudo dd if=/dev/zero of=/swapfile bs=1GiB count=4 status=progress |
Step 3: Secure and Enable
Set strict permissions so only the root user can read the file, then activate it:
|
1 2 3 |
sudo chmod 600 /swapfile sudo mkswap /swapfile sudo swapon /swapfile |
Step 4: Make it Permanent
To ensure your new swap space loads automatically after a reboot, append it to your filesystem table (
|
1 |
/etc/fstab |
):
|
1 |
echo '/swapfile none swap sw 0 0' | sudo tee -a /etc/fstab |
Step 5: Optimize Performance (Swappiness)
By default, Linux has a swappiness value of 60. For modern servers with 32GB+ RAM, we recommend lowering this to 10. This tells the kernel to utilize your fast physical RAM as much as possible before touching the slower disk.
|
1 2 |
echo 'vm.swappiness=10' | sudo tee /etc/sysctl.d/99-swappiness.conf sudo sysctl -p /etc/sysctl.d/99-swappiness.conf |
Verifying the Setup
Once finished, run
|
1 |
free -h |
again. You should see your new space listed in the “Swap” row. If the values match your configuration, your server is now protected against memory exhaustion.